Air conditioners are essential in keeping homes cool and comfortable, especially during hot summer months. Installing an air conditioner may seem daunting, but it can be a straightforward process with the right tools, knowledge, and guidance. In this beginner's guide, we will cover everything you need to know to install an air conditioner in your home.
Tags: #ACMaintanance
Step 1: Choose the Right Air Conditioner
Before you start the installation process, you need to choose the right air conditioner for your home. There are two primary types of air conditioners: window units and central air conditioning systems.
Window units are designed to fit into a single window and are best for cooling a single room or small space. Central air conditioning systems are more complex and are designed to cool an entire home. They require ductwork and professional installation.
When choosing an air conditioner, you should also consider its cooling capacity, measured in British Thermal Units (BTUs). The higher the BTUs, the more cooling power the unit will have. Make sure you choose an air conditioner that is appropriately sized for your space.
Step 2: Gather Your Tools and Materials
To install an air conditioner, you will need the following tools and materials:
Air conditioner
Mounting brackets (for window units)
Screws and anchors
Caulk
Level
Power drill
Screwdriver
Tape measure
Pencil
Step 3: Prepare the Window (for Window Units)
If you have chosen a window unit, you will need to prepare the window for installation. Start by measuring the width of the window opening to ensure that the air conditioner will fit.
Next, install the mounting brackets on the window sill using screws and anchors. These brackets will support the weight of the air conditioner. Make sure they are level and securely fastened.
Step 4: Install the Air Conditioner
Once the window is prepared (for window units) and you have gathered your tools and materials, it's time to install the air conditioner. Here's how:
Lift the air conditioner into the window and secure it in place with the mounting brackets.
Close the window securely against the top of the air conditioner.
Use screws or brackets to secure the air conditioner to the window frame.
Apply a bead of caulk around the edges of the unit to seal any gaps and prevent air leaks.
Step 5: Test the Air Conditioner
After installation, it's time to test the air conditioner. Turn it on and adjust the temperature to your desired level. Make sure the air is blowing out of the unit and into the room, and that the unit is functioning correctly.
If you notice any issues, such as the air not blowing out or the unit making strange noises, turn it off immediately and troubleshoot the problem.
Step 6: Maintain Your Air Conditioner
Proper maintenance is essential to ensure your air conditioner runs efficiently and lasts for many years. Here are some maintenance tips to keep in mind:
Clean or replace the air filter regularly to improve air quality and keep the unit running smoothly.
Check the unit for any signs of damage or wear and tear.
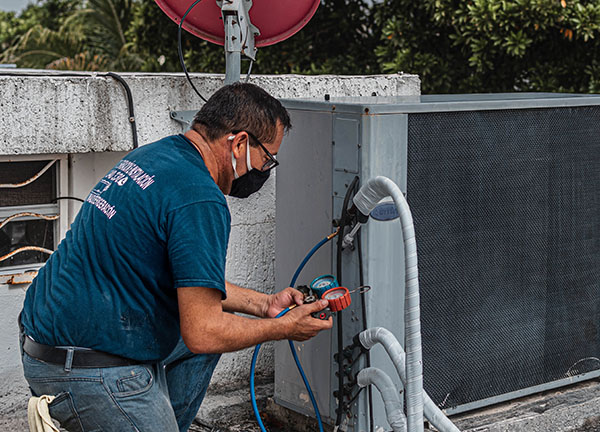
Schedule regular professional maintenance to keep your air conditioner in top condition.
Conclusion:
Installing an air conditioner in your home may seem overwhelming at first, but with the right tools, knowledge, and guidance, it can be a straightforward process. Follow these steps to install your air conditioner, and remember to maintain it regularly to keep it running efficiently. Enjoy a cool and comfortable home all summer long!